Documentation
December 21, 2024
Schedwise is an appointment booking platform designed to simplify scheduling and appointment management. It offers automated online booking, allowing customers to schedule services based on real-time availability. The platform features an AI assistant integrated with the WhatsApp and Facebook messaging app to answer questions, check open slots, and schedule appointments automatically.
Schedwise also includes an easy-to-use website builder where businesses can showcase their services, team members, and pricing. customers can book appointments directly through the website, making the booking process quicker and easier. Additionally, Schedwise supports secure online payment processing, making it simple to manage payments and for customers to pay during booking.
This documentation provides a comprehensive guide to understanding and using Schedwise’s features. Whether you are new to the platform or aiming to enhance your usage, you’ll find step-by-step instructions and practical insights to help you succeed.
To start using Schedwise, simply create an account on our website. After signing up, you’ll be taken to your platform dashboard, where you can explore all the available features and begin setting up your account. From there, you’ll be ready to manage everything easily and efficiently.
Once you’re set up, dive into specific features and learn how to make the most of Schedwise:
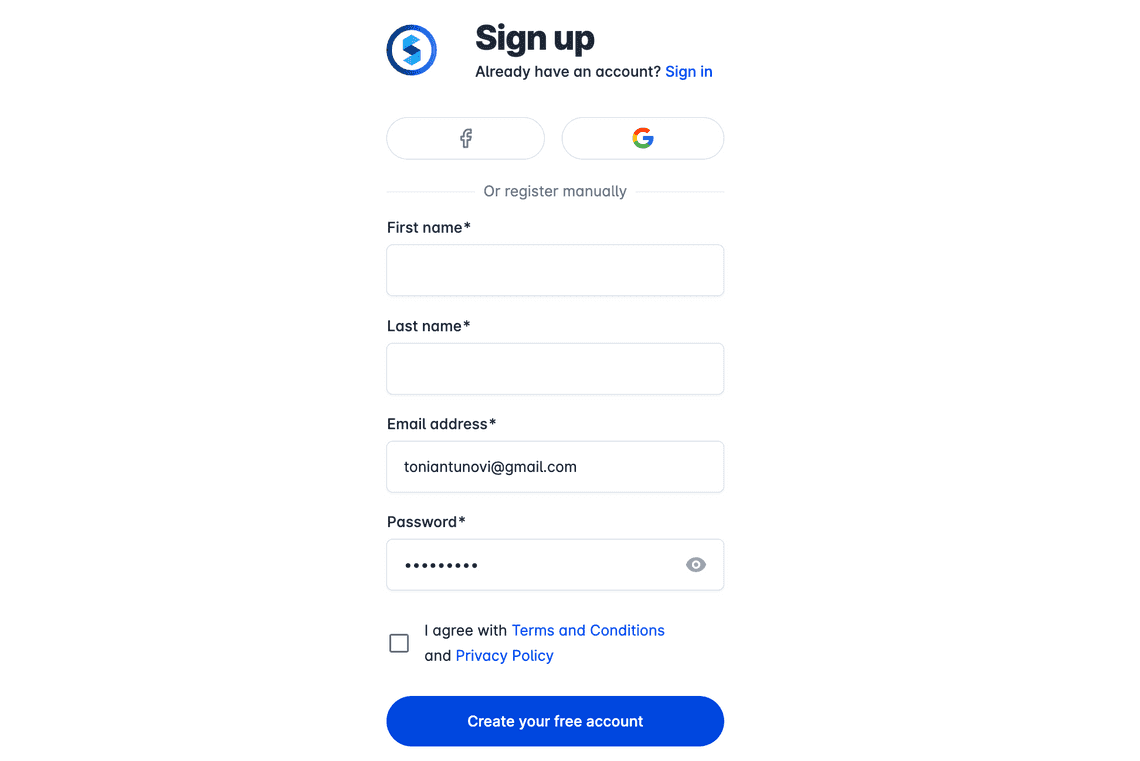
To get started, locate and click the “Get Started” button at the top right corner of the Schedwise homepage.

Complete the registration form by entering your name, email address, and a secure password. For added convenience, you can also sign up using your Google or Facebook account.
Check your email inbox for a verification email from Schedwise. If you don’t see it, be sure to check your spam or junk folder. If you still can’t find the email, simply click the “Resend Verification Email” link on the login page to have it sent again.
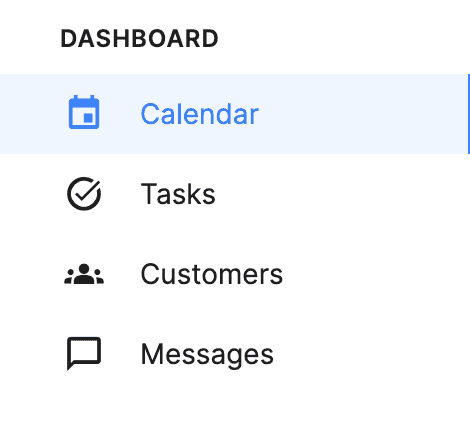
Upon logging into Schedwise, you’ll be directed to the dashboard, which serves as a central hub for managing your calendar, tasks, customers, and messages.
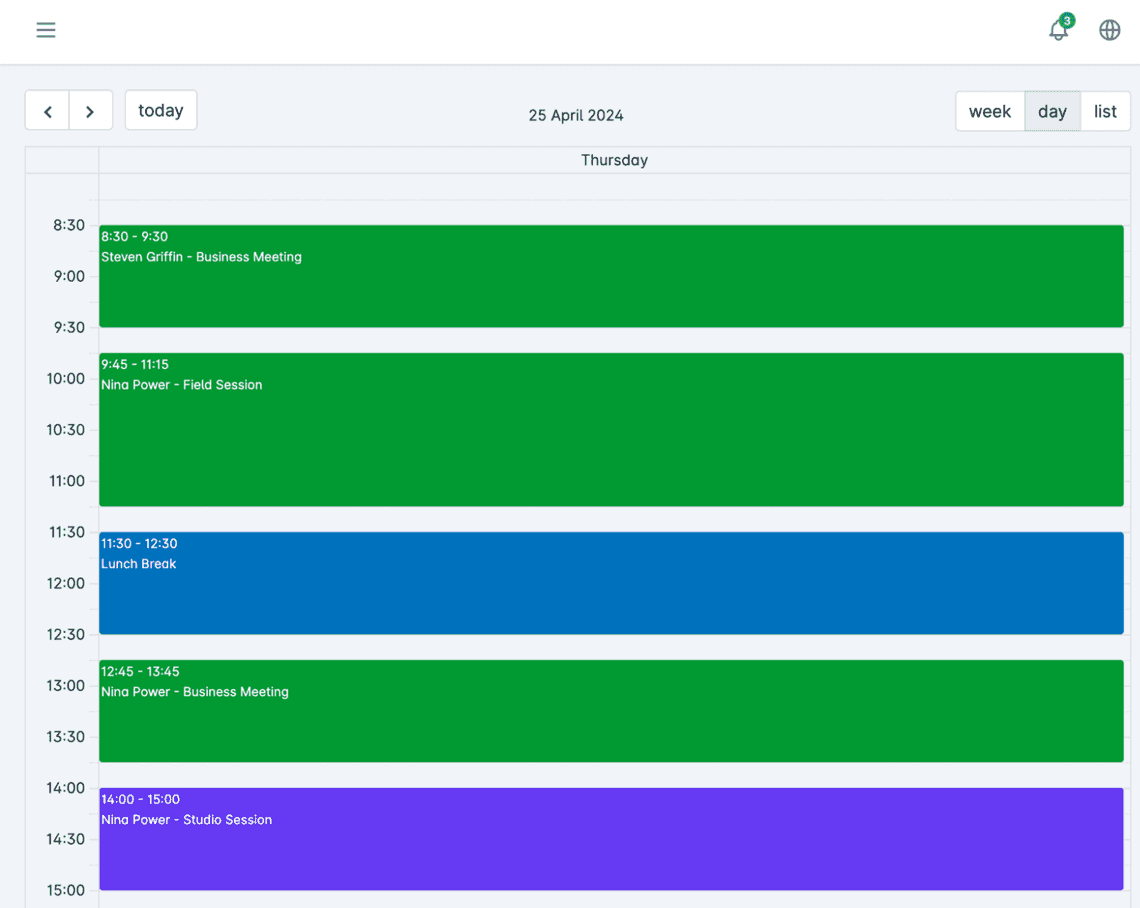
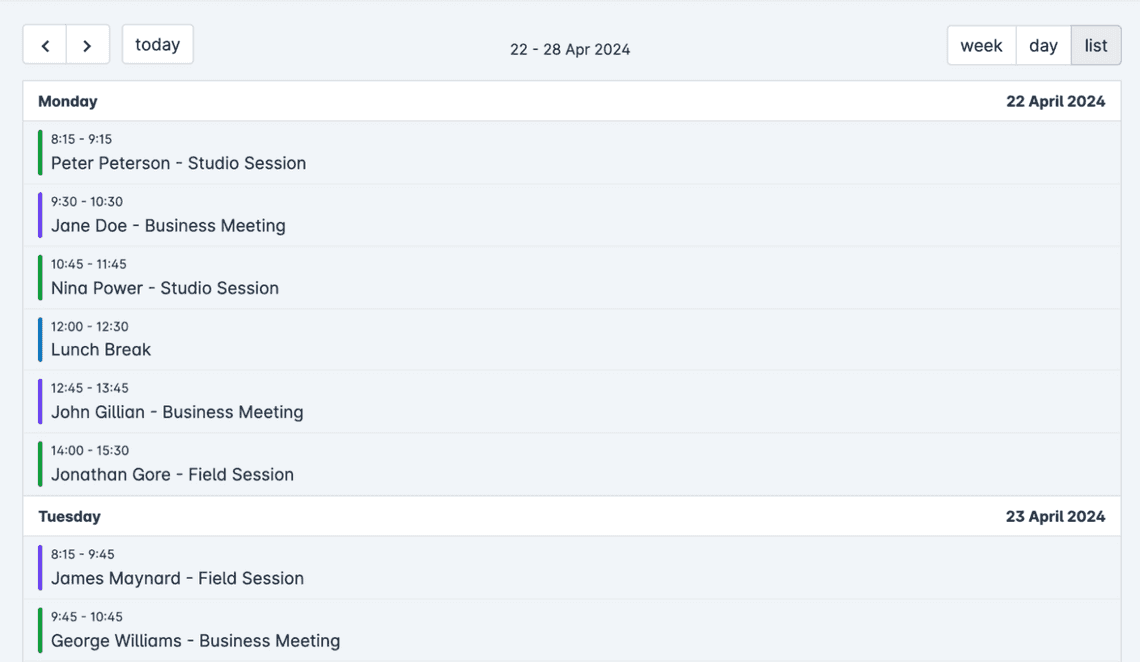
Choose Your Preferred Calendar View
Choose the calendar view that best suits your workflow. Toggle between Week, Day, or List views to see your appointments in the format that’s most convenient for you.
Week View: Get a clear overview of your entire week at a glance. Perfect for planning ahead and managing a busy schedule, it shows all your appointments laid out across the week.
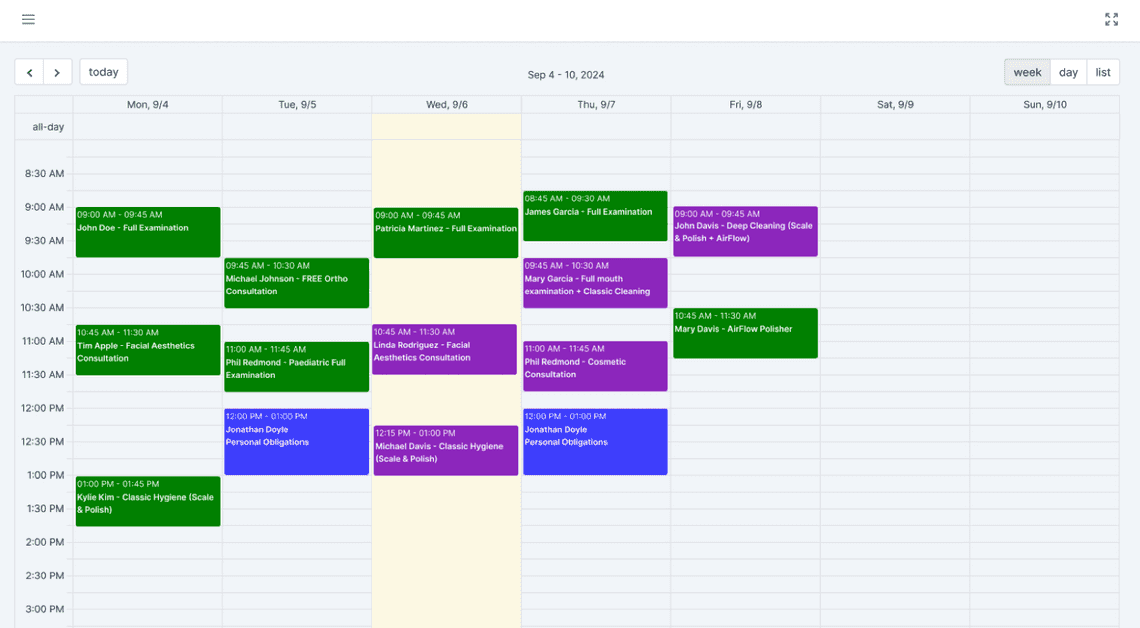
Day View: Take a closer look at a single day. This view helps you focus on your tasks and appointments one at a time, making it easier to manage your day.
List View: See all your appointments in a clean, organized list. Great for quickly scanning your schedule, tracking upcoming appointments, or reviewing your day in order of time.
Appointment Creation
You can create new appointments directly from the calendar, making scheduling quick and easy. Here’s how:
Once created, the appointment will automatically appear on your calendar. If plans change, you can easily edit or adjust existing appointments directly within the calendar.

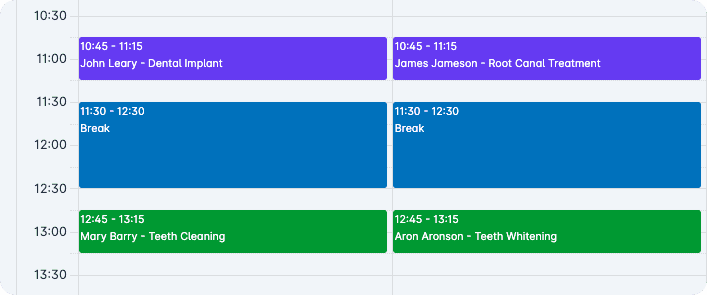
Appointment Categorization
Stay organized by easily tracking the status of your appointments through color-coded categories on the calendar:
This simple categorization helps you quickly assess the status of your appointments at a glance.
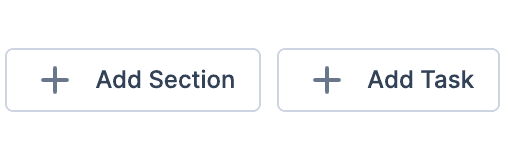
Organize and manage your tasks efficiently with Schedwise’s task feature. You can create different tasks and assign them to specific team members, ensuring everyone knows what they need to focus on. Here’s how tasks can be customized:
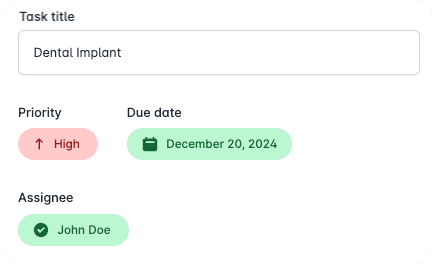
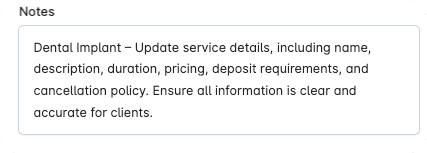
This flexibility ensures that tasks are clear, manageable, and aligned with your team’s workflow.
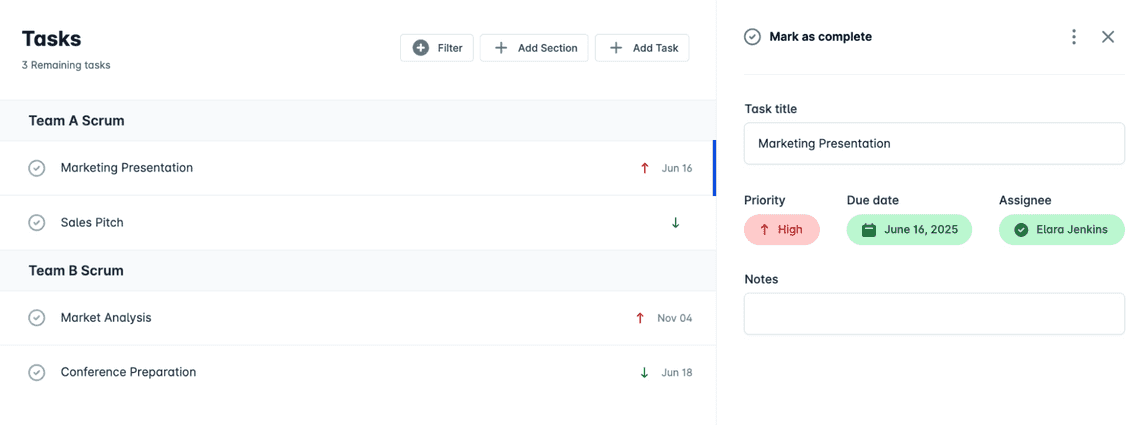
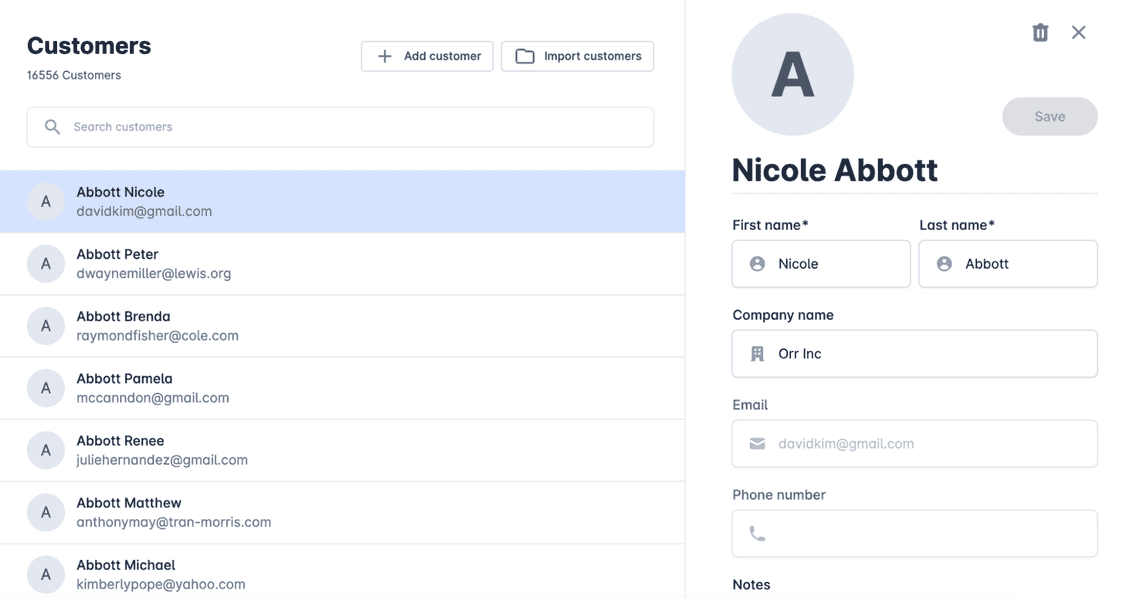
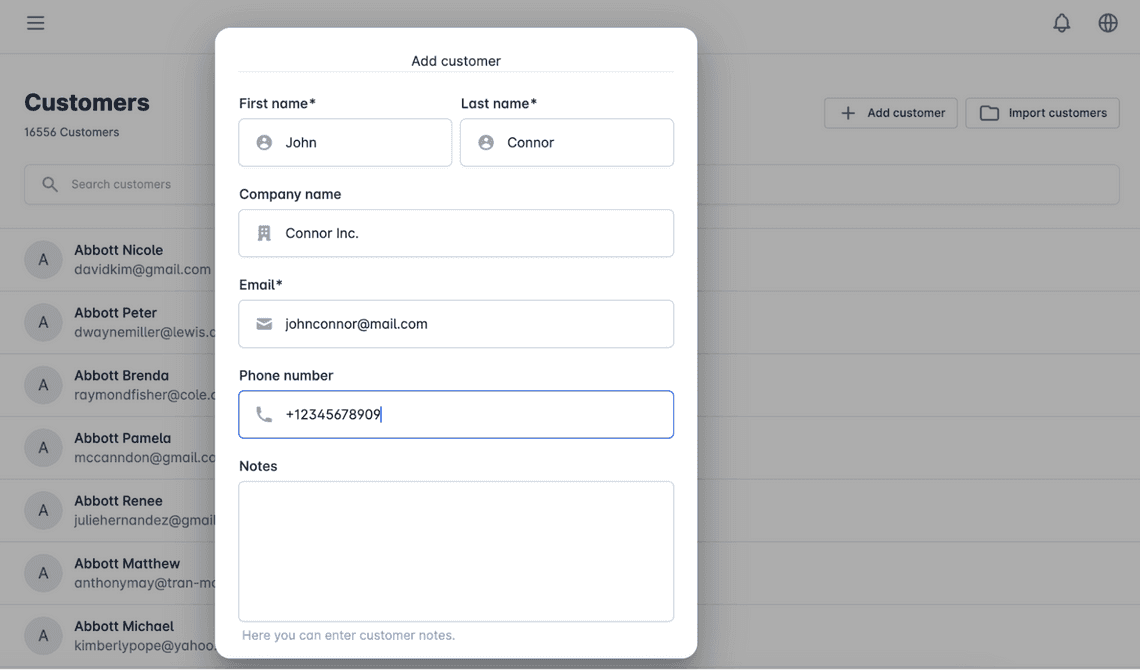
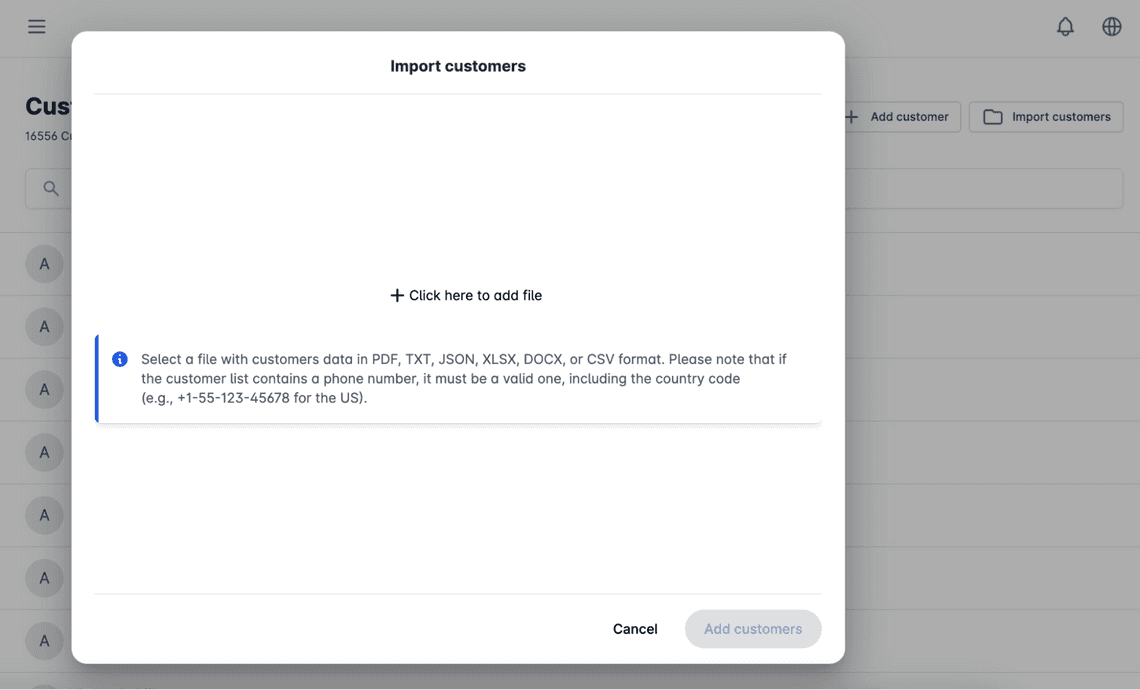
With Schedwise, managing your customers is simple and straightforward. Here’s what you can do in the Customers section:
View Customer List: Access a full list of your existing customers and quickly find the ones you need using the search option.
Edit Customer Info: Update and modify customer details as needed, such as contact information.
Add Notes and Upload Files: Attach important notes or upload files related to a customer, helping you keep track of relevant details and documents.
Block and Delete Customers: If necessary, you can block customers to prevent further appointments or delete their profiles entirely from your system.
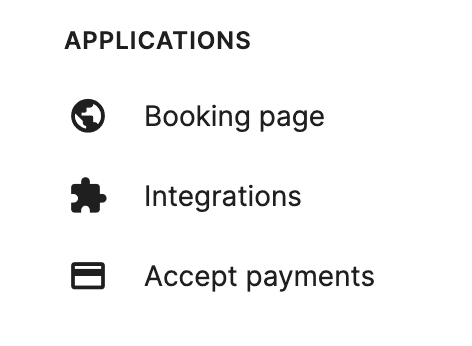
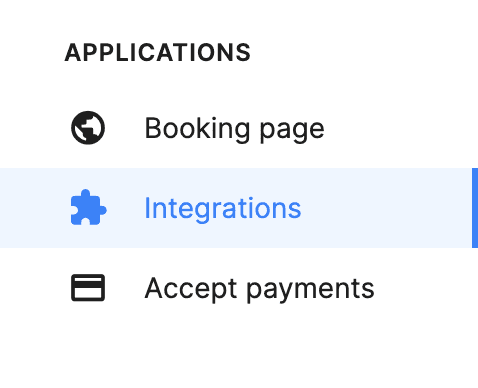
The Applications section in Schedwise provides a suite of tools designed to enhance your business operations. This area allows you to manage various integrations and features that streamline your workflow, improve customer interactions, and create a more efficient business environment. With the Booking page builder, you can easily create a professional, user-friendly website that showcases your services, team members, and pricing. The page also enables customers to book appointments directly, offering a smooth and convenient experience for both you and your customers.
The WhatsApp Integration makes communication faster and more accessible by allowing customers to schedule appointments, ask questions, and interact with your business directly through WhatsApp. Once integrated, all messages from customers via WhatsApp will appear within the platform, ensuring all communication is centralized and easily managed. You can track appointments, confirmations, reminders, and other interactions all in one place, improving your response time and keeping your workflow organized.
Google Calendar & Google Meet Integration keeps your schedule in sync and your meetings ready to go. When a customer books an appointment, it’s automatically added to your Google Calendar—with a Google Meet link included if the appointment is online. Any changes or cancellations made on Schedwise are reflected in your calendar, so you’re always up to date. No need to set up meetings manually—just show up when it’s time.
Additionally, Schedwise makes it easy to accept online payments securely. customers can pay for their appointments directly through the platform, simplifying the payment process for both you and your customers. The system ensures that all transactions are secure, adhering to industry standards to protect both your business and customer information. By requiring online payments or deposits for appointments, you can also reduce the likelihood of no-shows, as customers are more likely to follow through once they’ve made a financial commitment.
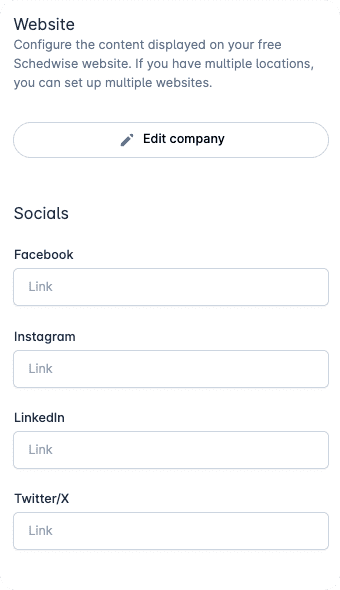
The Booking Page Builder in Schedwise gives you the tools to create a professional and functional online presence for your business. The Edit Company option will take you to Settings, where you can edit your main info (this part will be explained later in this guide). Once you’ve completed the main details of your business—such as your name, contact details, description, services, prices, company locations, and working hours—you can start customizing your website to make it truly your own.
Here’s what you can do next:
Add Social Media Links: Link your social media profiles to your booking page, making it easy for customers to connect with you on platforms like Instagram, Facebook, LinkedIn, and X.
Edit Location-Specific Information: Customize details for each of your business locations, including the location’s unique name and whether appointment scheduling is enabled. Decide whether customers can schedule appointments directly through your booking page. You can turn this feature on or off based on your preferences or business needs.
Add Photos: Make your booking page stand out by uploading photos of your team, workspace, or services—helping customers see what you offer. If you have multiple locations, you can upload unique photos for each one to showcase everything you have.
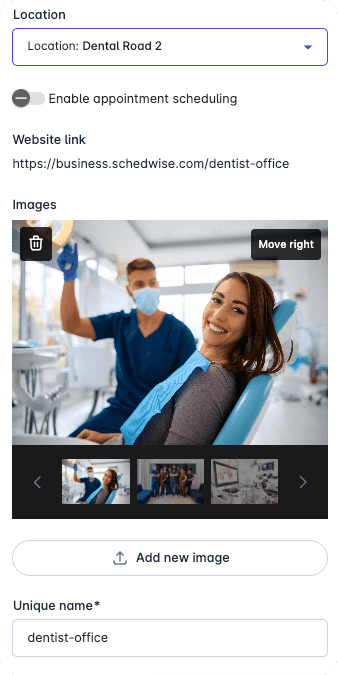
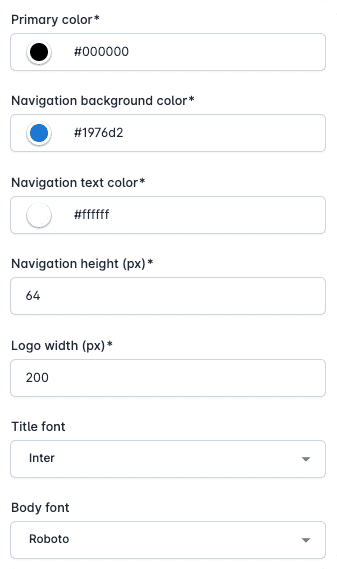
Customize Colors and Fonts: Adjust the design of your page by selecting colors and fonts that align with your brand, creating a professional and cohesive look. Remember, you can set different colors and fonts for any of your specific locations.
With these tools, you can create a professional booking page that reflects your brand identity, showcases your services, and provides an intuitive booking experience for your customers. Each feature is designed to be flexible and customizable, allowing you to tailor the website to your business goals and ensure it meets the unique needs of your customers.
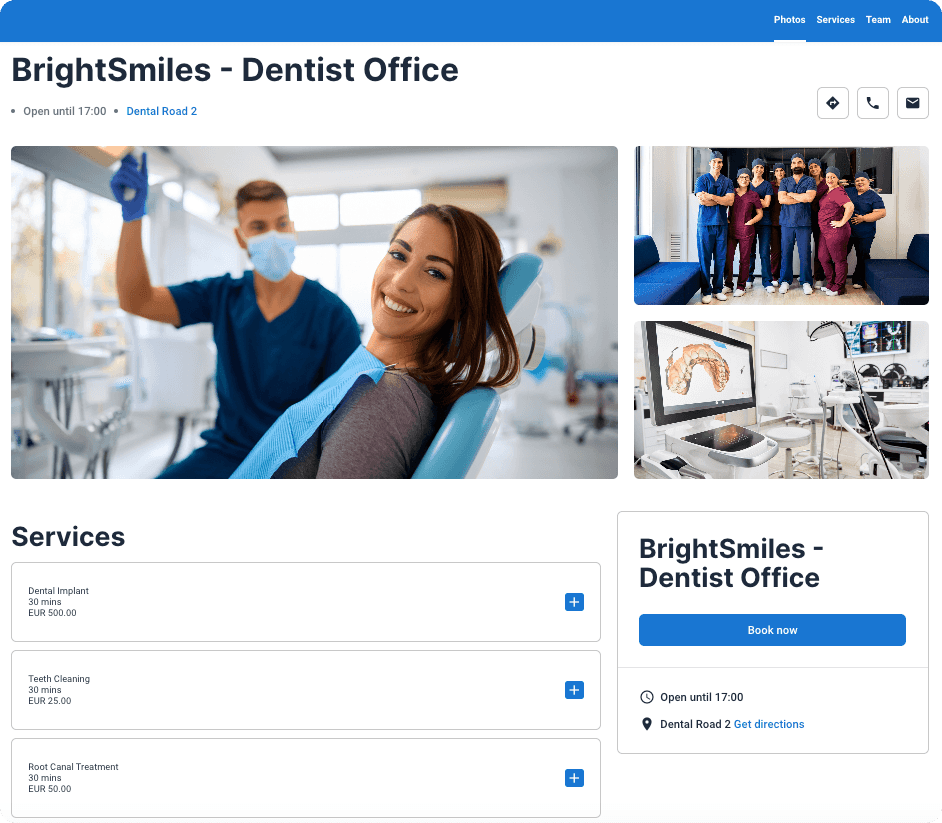
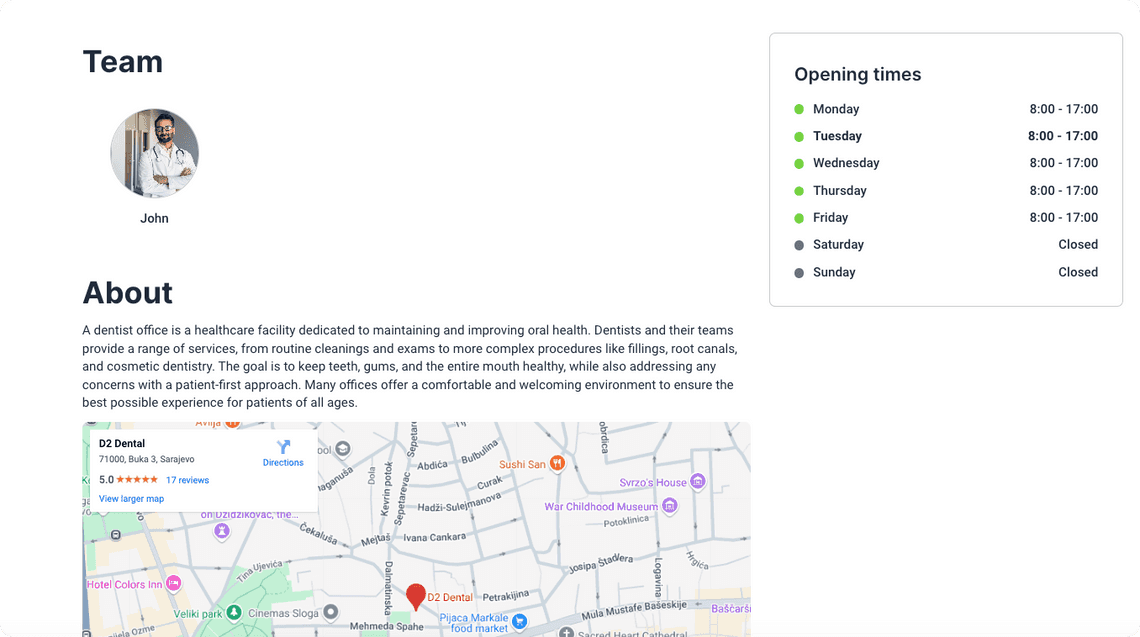
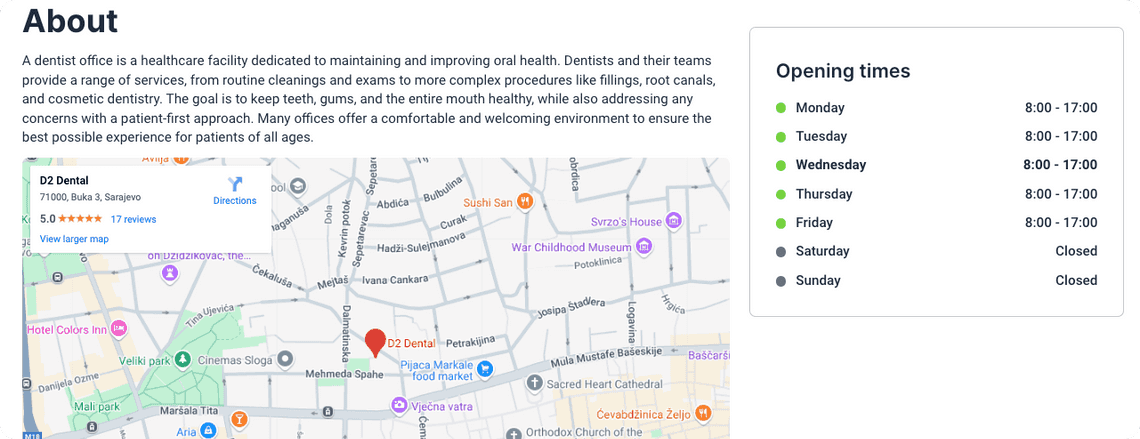
On your booking page, you can showcase your team members, provide detailed descriptions of your business, and display your working hours to give customers a clear understanding of what to expect. Additionally, you can highlight your business location, making it easier for customers to find and connect with you. This helps create a more complete and informative online presence, tailored to your business needs.
The WhatsApp Integration enhances communication by enabling customers to schedule appointments, ask questions, and interact with your business directly through WhatsApp. Once integrated, all messages from customers via WhatsApp are automatically routed into the platform, allowing you to manage them in one centralized location. This ensures that appointments, confirmations, reminders, and other interactions are tracked and easily accessible, improving response times and keeping your workflow organized. The WhatsApp Integration simplifies customer communication, ensuring that you stay on top of your appointments and interactions efficiently.
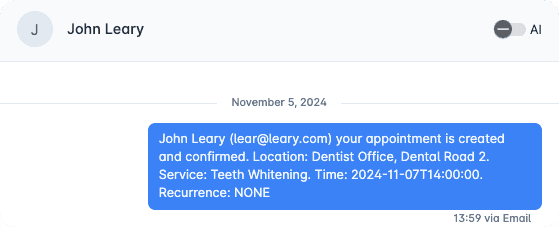
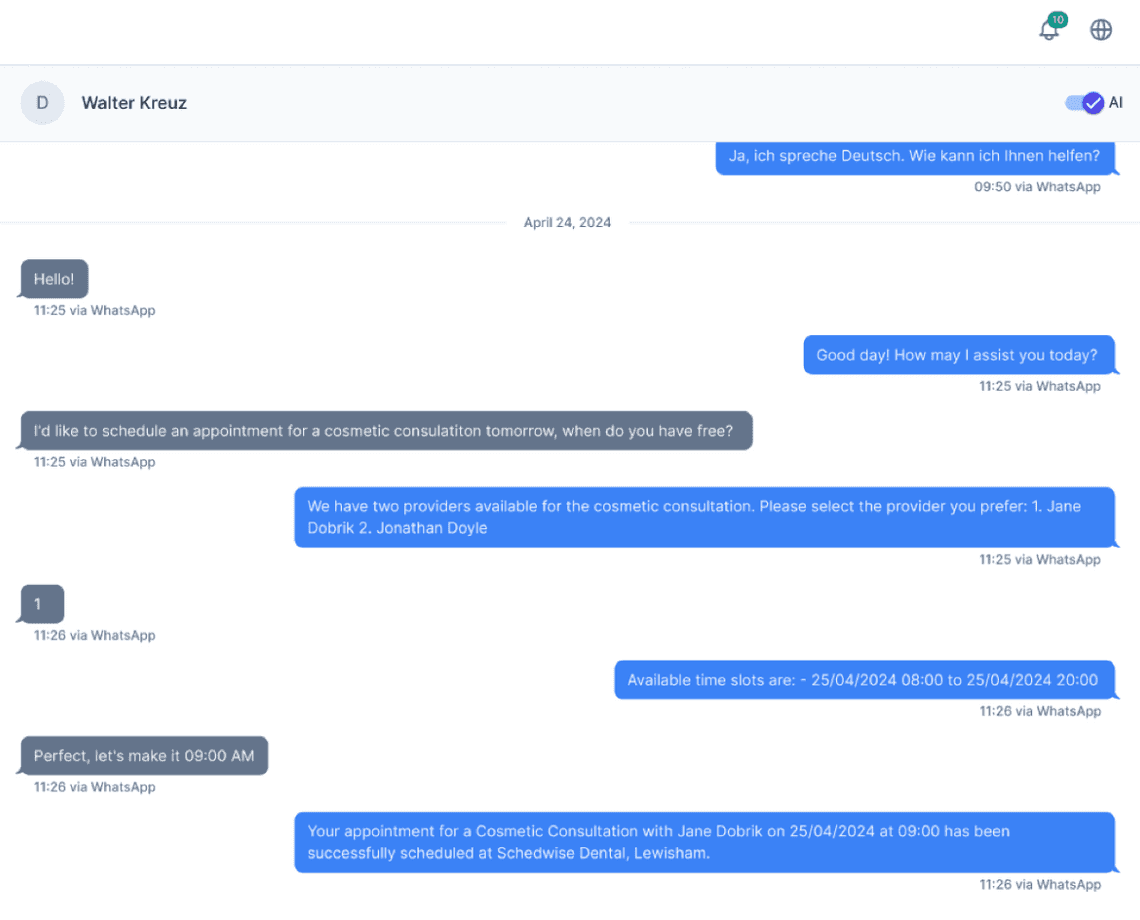
The AI Chat Assistant, when activated, works alongside the WhatsApp Integration to automate responses and improve customer interactions. It can scan your calendar and automatically book appointments based on customer inquiries, ensuring the scheduling process is efficient. By managing common questions and handling bookings, the AI Assistant reduces manual effort, helping you stay organized and focus on more important tasks. You can activate your AI Assistant by toggling it at the top of the chat conversation in your messages section.
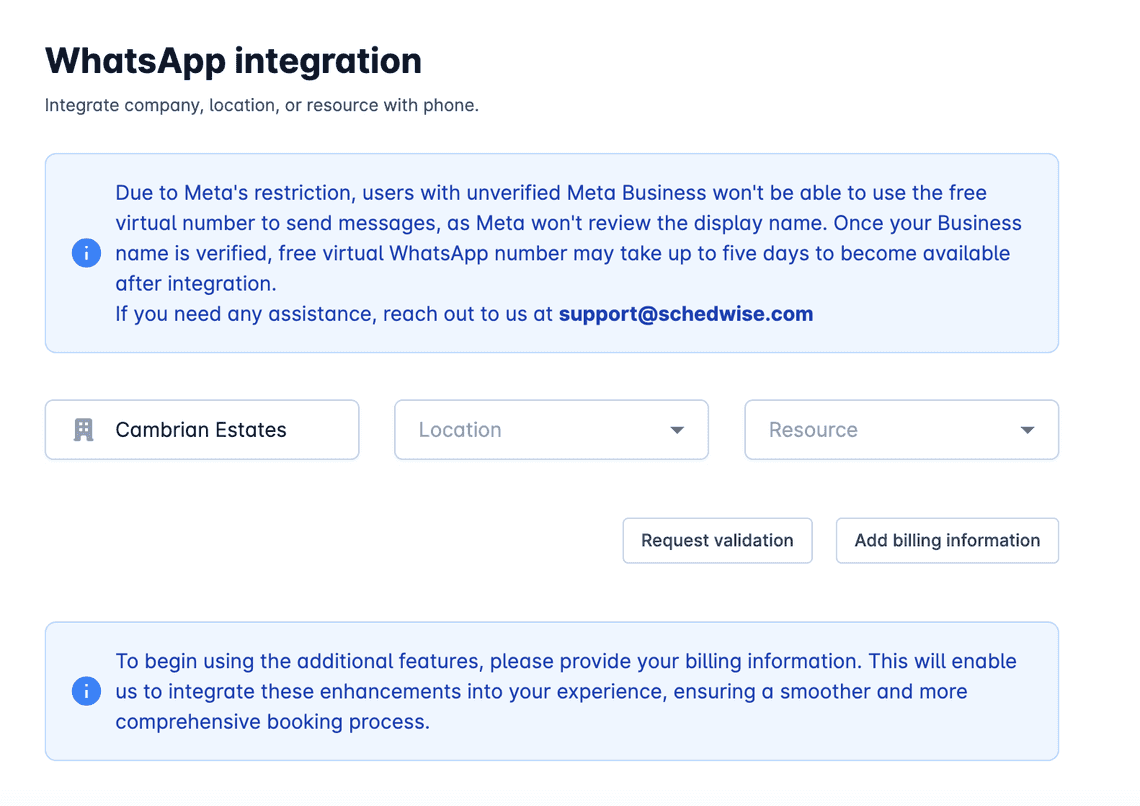
How to request WhatsApp Integration?
To integrate WhatsApp with Schedwise, start by navigating to the Integrations section, and select WhatsApp.
AI Chat Assistant on WhatsApp
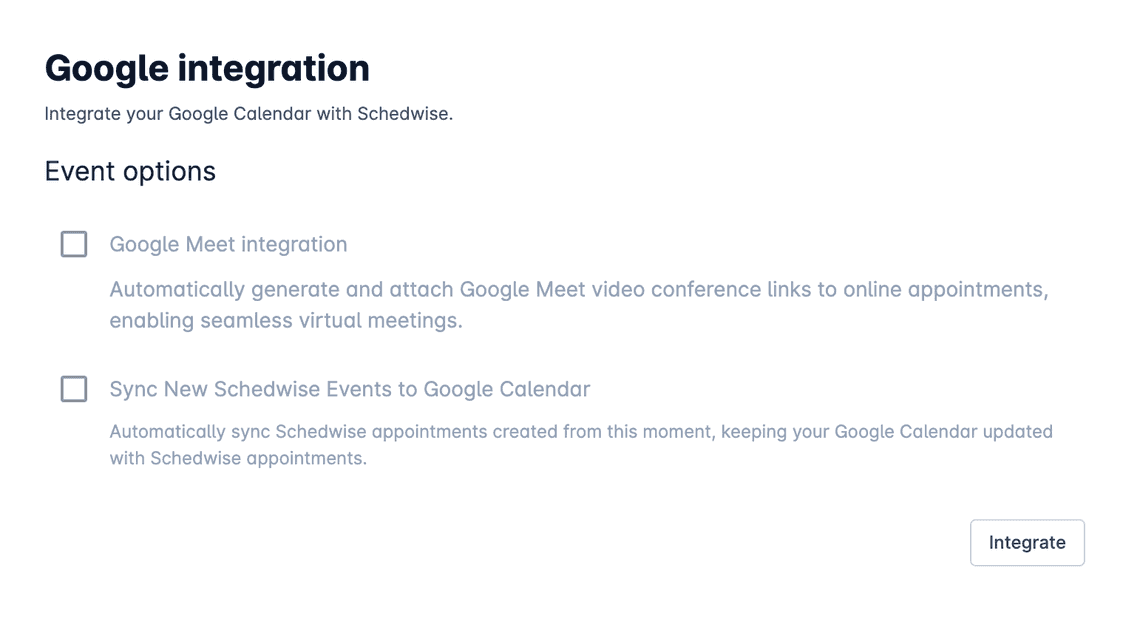
To integrate Google Calendar and Google Meet with Schedwise, start by navigating to the Integrations section, select Google Workspace, choose your desired options, and click on Integrate. Once integrated, you can enjoy these benefits:
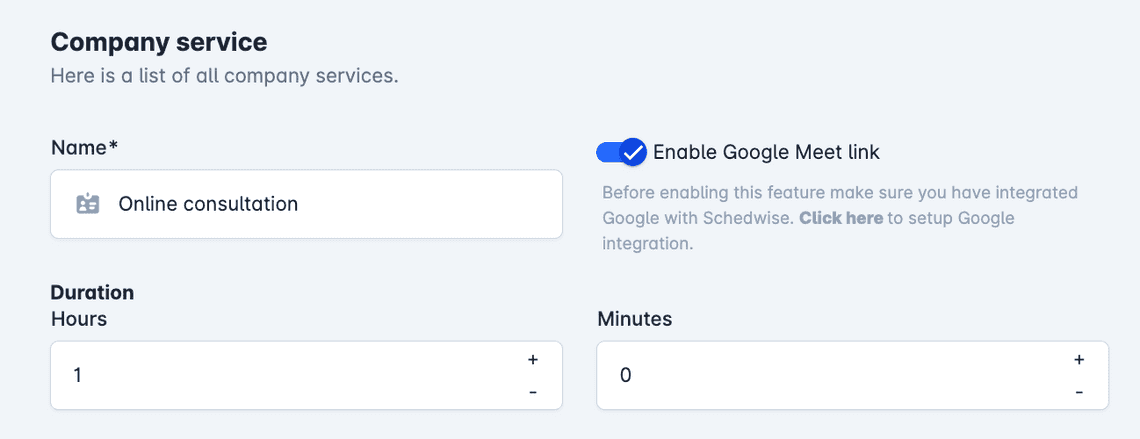
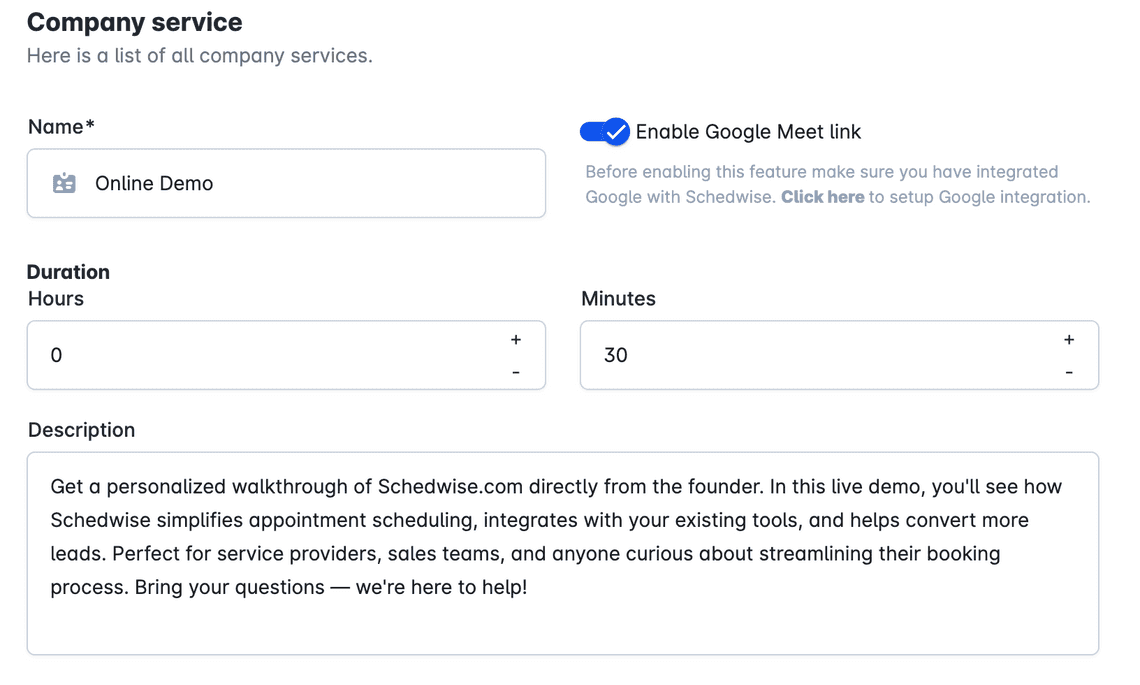
Once you have integrated Google Workspace, navigate to your Company Settings to enable the Google Meet link.
With everything set up, you’ll notice that your newly created appointments will have a Google Meet link icon, along with the Meet link itself in the appointment’s detailed information.

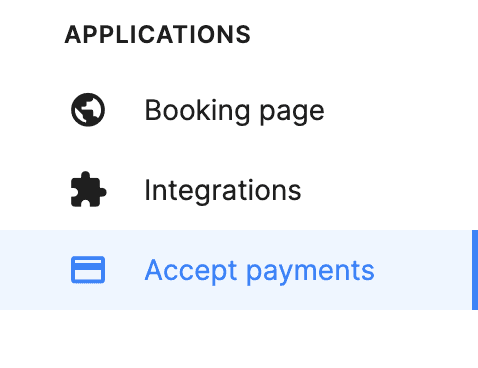
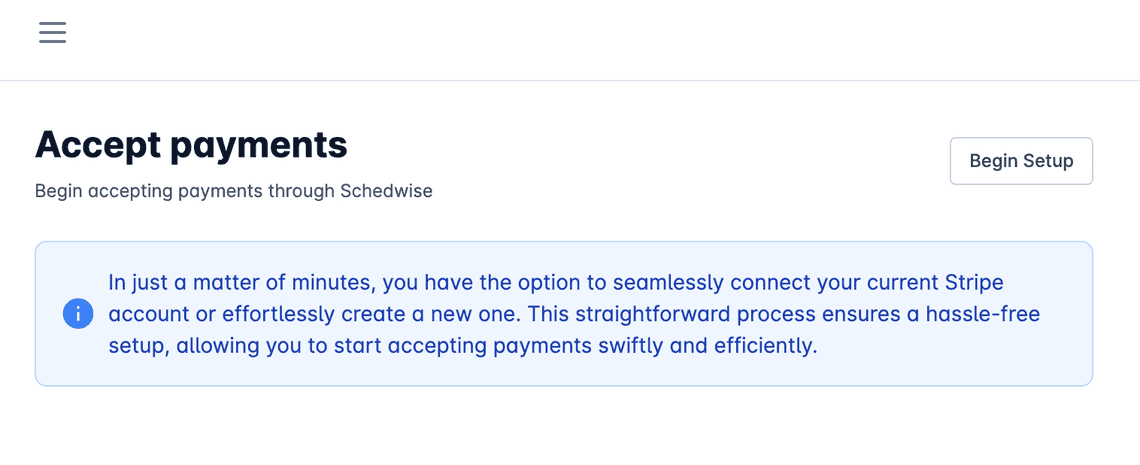
Schedwise makes accepting payments from your customers easy and secure. By integrating with Stripe, you can process payments directly through our platform, ensuring a smooth and professional experience. Getting started is straightforward! Navigate to the Accept Payments section.
Once there, you can click Begin Setup in the Accept Payments section and follow the step-by-step instructions to either connect your existing Stripe account or create a new one. The entire process is quick and secure. Once your Stripe account is connected, your customers can pay online when booking your services. This not only simplifies transactions but also enhances your customers’ experience by offering them a convenient, modern payment option. Plus, enabling online payments upfront helps reduce no-shows by encouraging customers to stick to their appointments. When customers pay in advance, they’re more likely to follow through, saving you time and keeping your schedule on track.
The Profile and Settings section serves as your digital identity within the platform, allowing you to configure and manage key business details. This section provides the tools needed to update your company information, set preferences, and customize essential settings to ensure your account aligns with your operational needs. Below is an overview to help you efficiently navigate and manage your profile settings.
Navigate to the Profile Section
To access your profile, go to the left-hand sidebar and click on your name.
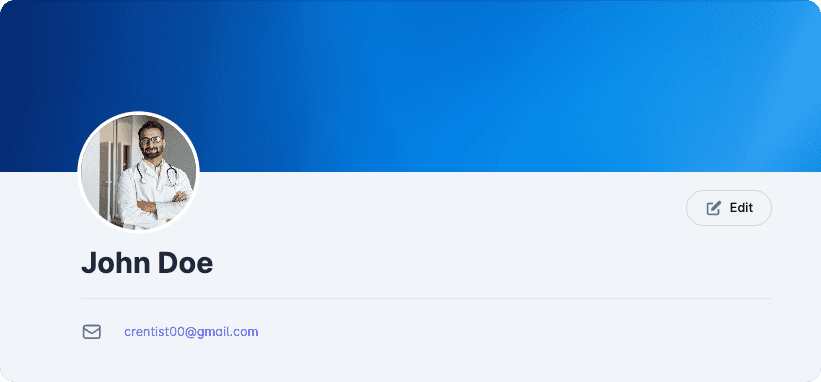
Overview of Profile Information
Once in the Profile section, you’ll see an overview of your current details, including your name, email, contact information, and visual elements such as your profile picture and banner. This gives you a quick snapshot of how your information appears on the platform. Need to make updates? Click the Edit button in your Profile section. This will allow you to make changes to your personal and business information as needed.
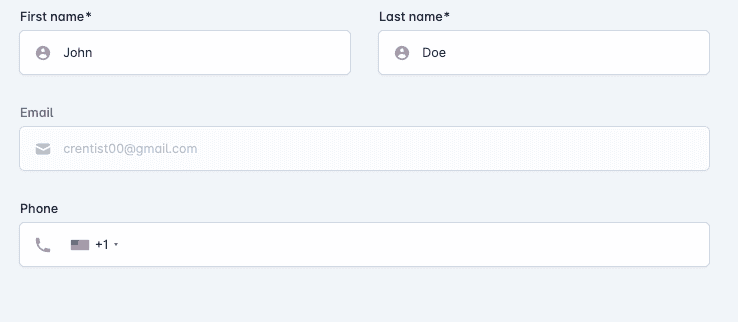
Set your profile picture and banner to personalize your presence. You can add, update, or delete your profile picture, which will also be displayed on your website if you’re listed as a team member providing services.

Update your name and phone number to ensure your profile details are always accurate and up-to-date. When you are done with all the changes, click on Save to finalize the updates.
Navigate to the Settings section.
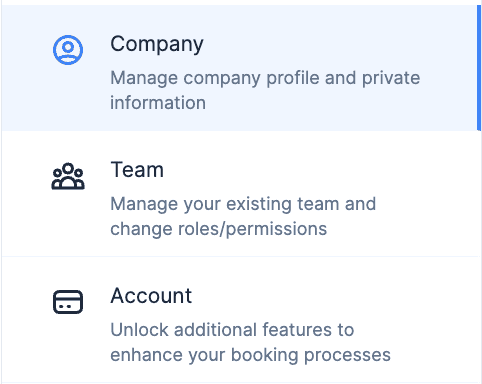
To take full control of your business on Schedwise, start by heading to the Settings section. Here, you can customize your company details, manage your team, and access additional features to tailor the platform to your needs. Updating these settings ensures everything runs smoothly and reflects your business accurately.

How to Edit Company Information:
To update important details like your company name, website, description, services and preferred currency for receiving payments, navigate to the Company Settings section.
Basic Information and Currency
You can update essential details like your company name, website, description, and preferred currency for receiving payments. Keeping this information up-to-date ensures your business profile is accurate and aligned with how you want to present yourself to customers.

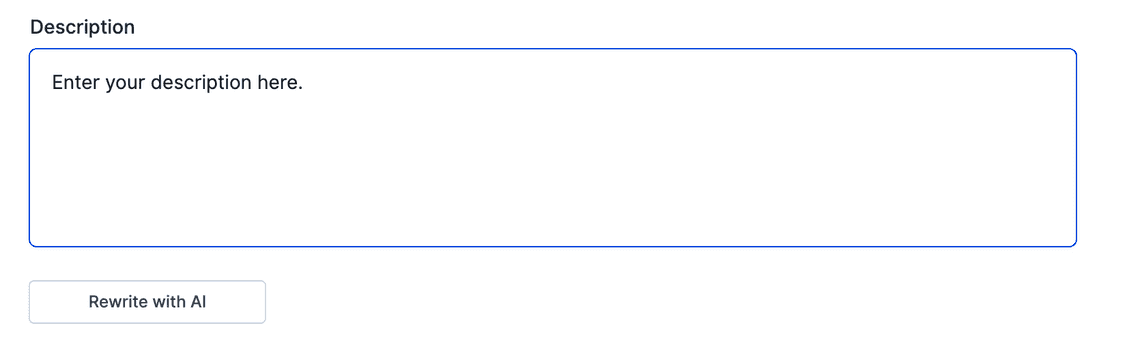
Update Business Description
You can update the detailed description of your business, which will be displayed on your website. This is a great way to showcase what your business offers and connect with potential customers. If you need help crafting the perfect description, our AI tool can assist you by rewriting your text to make it more engaging and professional.
Update the Services Your Business Provides
You can easily add and update your services, including the service name, duration, and a detailed description. This helps ensure that your offerings are clear and accurate for your customers. Whether you’re introducing a new service or updating an existing one, keeping this information up-to-date is essential for a positive customer experience.
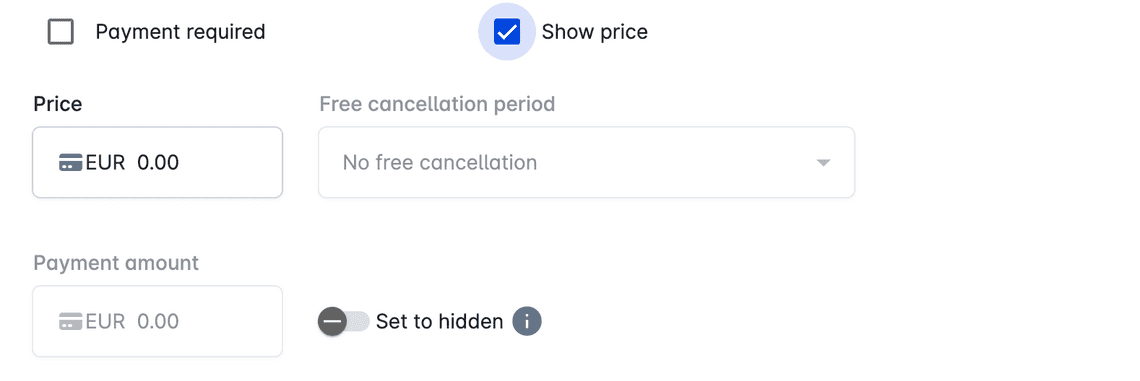
You can also customize payment and deposit settings for each service. Easily toggle whether a payment or deposit is required, and choose if the service price and deposit amount should be displayed. If a deposit is enabled, you can specify the amount needed. Additionally, you have the flexibility to set a free or charged cancellation period, ensuring your policies are clear and tailored to your business needs. Don’t forget to update the service price whenever necessary to keep everything accurate.
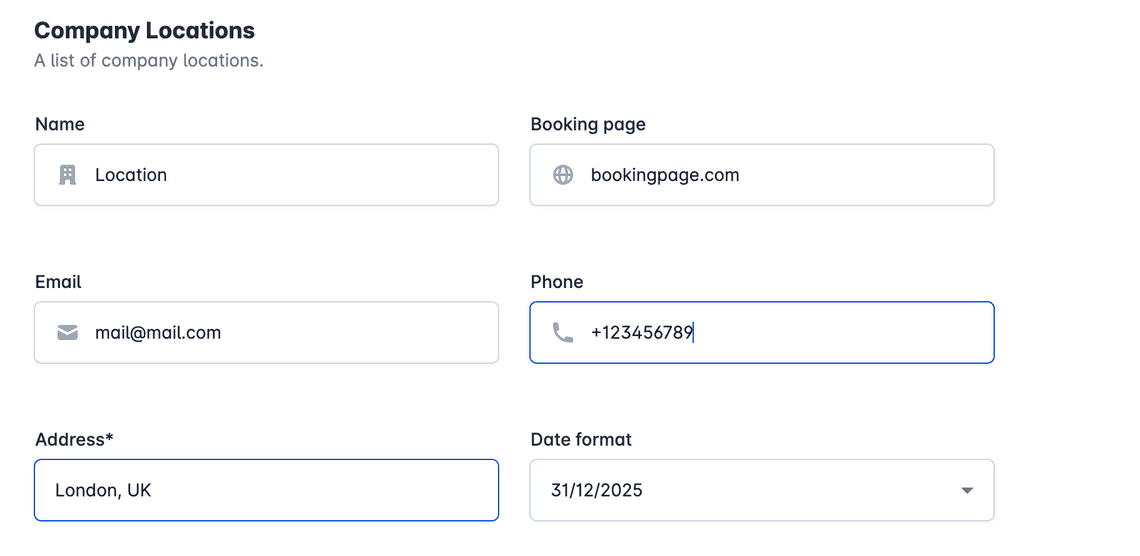
Location Details
You can customize the key details for each of your business locations to ensure accurate and professional communication with your customers. Update the location name to make it easily identifiable, and include a dedicated email address and phone number for direct contact, as well as the physical address to guide customers to the right place. Keeping these details up-to-date ensures that customers always have the correct information to connect with the location they need.
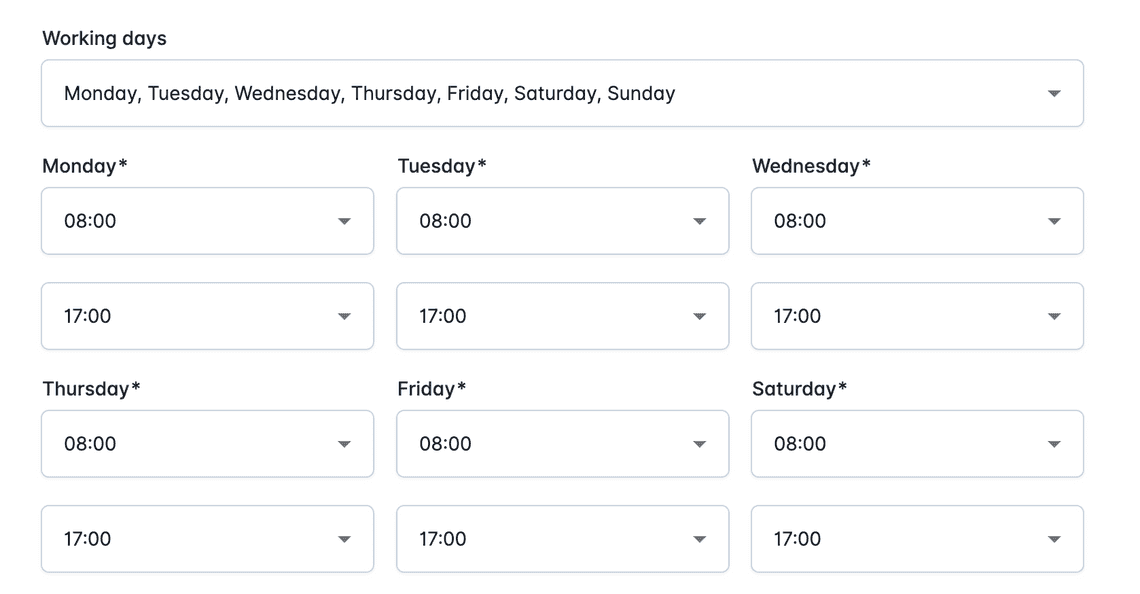
Hours and Description
Tailor the availability and information for each location by setting specific working days and hours. This helps customers understand when services are available at that location. Additionally, you can write a unique description to highlight what’s special about the location, such as the services offered, facilities available, or any other key details. Providing clear and specific information helps customers make informed decisions and enhances their overall experience.
Your secondary locations will always be displayed on the website of the location your customer is currently viewing. This ensures customers can easily see all your available locations and choose the one that works best for them.

Navigate to Team Settings
Under Settings, select Team to manage your team members.

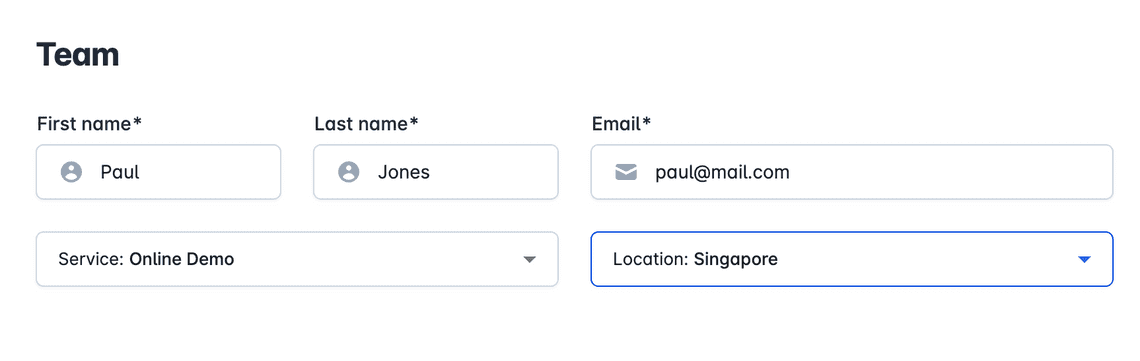
Add Team Members and Manage Team Roles
Invite new team members by filling out their details and specifying the services they provide. You can also assign each team member to a specific location, ensuring customers see accurate information about who provides services at each site. Easily adjust roles and permissions to fit each team member’s responsibilities, giving them access only to the areas they need. Additionally, you have the flexibility to add or remove team members as your business evolves, keeping your team information up-to-date and organized.
The team member will receive an invitation email at the address you entered, allowing them to join and get started. This streamlined process makes it easy to expand your team and keep everyone connected.
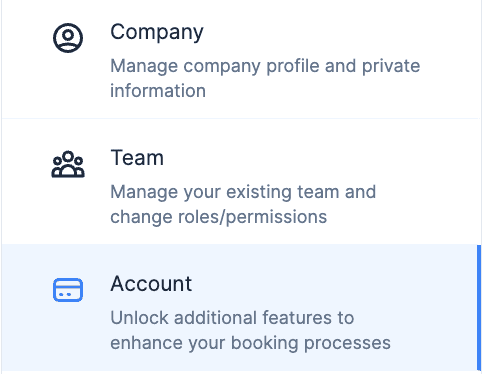
Changing your Account Settings
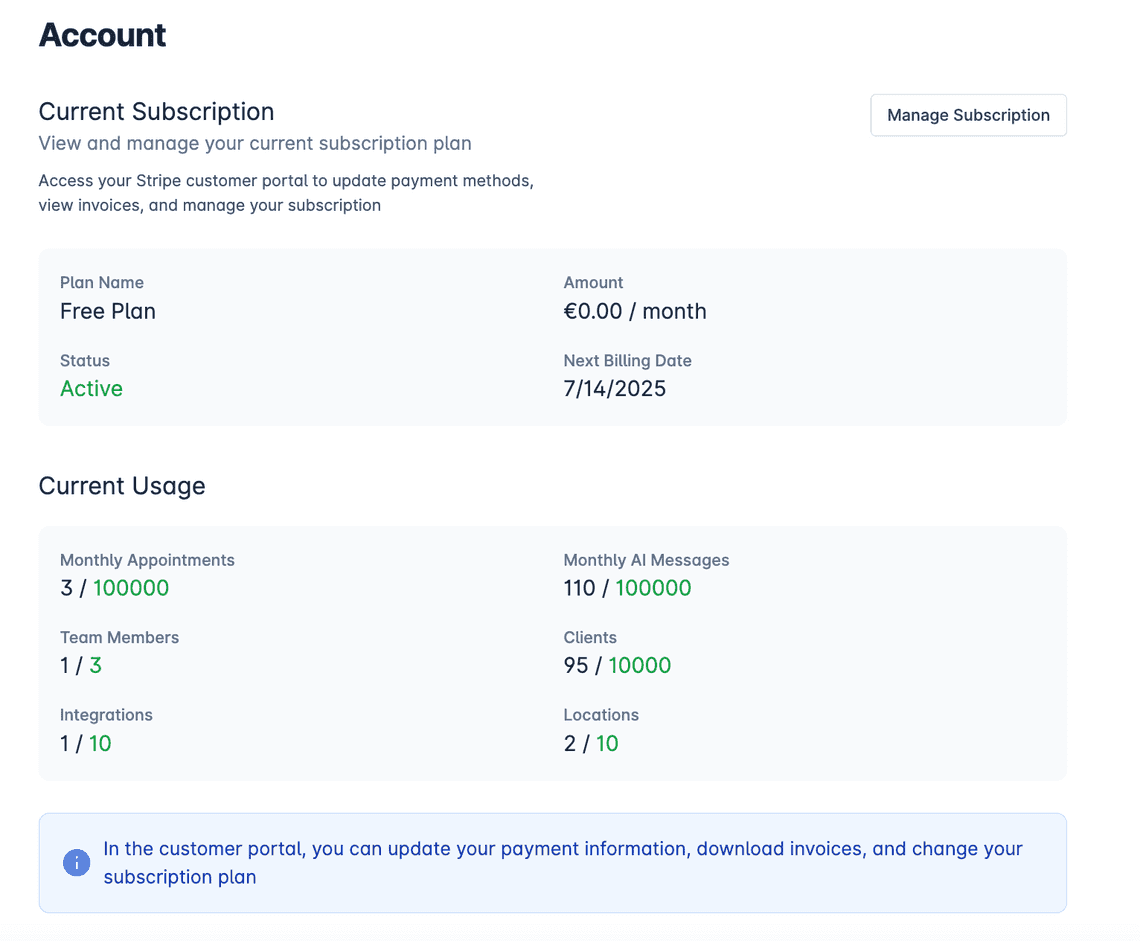
To update your billing information and access extra paid features like the AI Chatbot and Appointment Reminders, start by navigating to the Account Settings.
In the account settings you can manage overview your subscriptions, update your payment information, download invoices, and change your subscription plan.
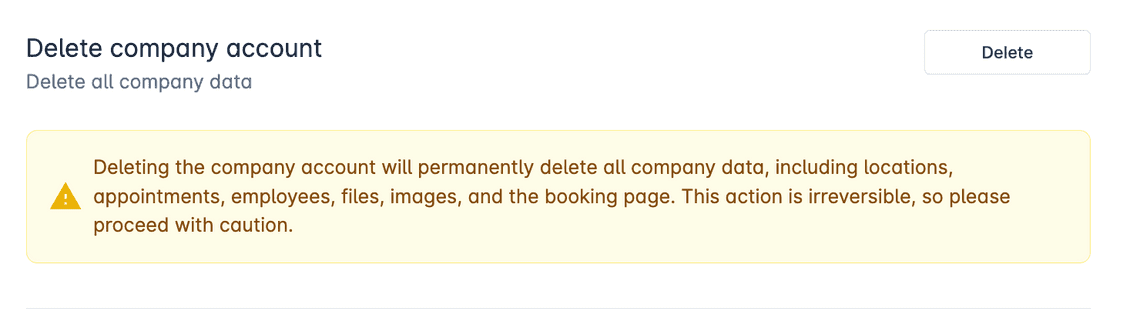
Deleting Your Account
If you ever decide to delete your account, you can do so directly from the Account Settings. Deleting your account will permanently remove all your data and settings from our platform. Please ensure you’ve backed up any important information before proceeding, as this action cannot be undone.